
We read your photo as:
Prepare detailed freehand drawings of the layout, i.e., floor plan, of TWO possible design solutions for the proposed shopping centre.
Business/Management
ScanSolve AI Answer
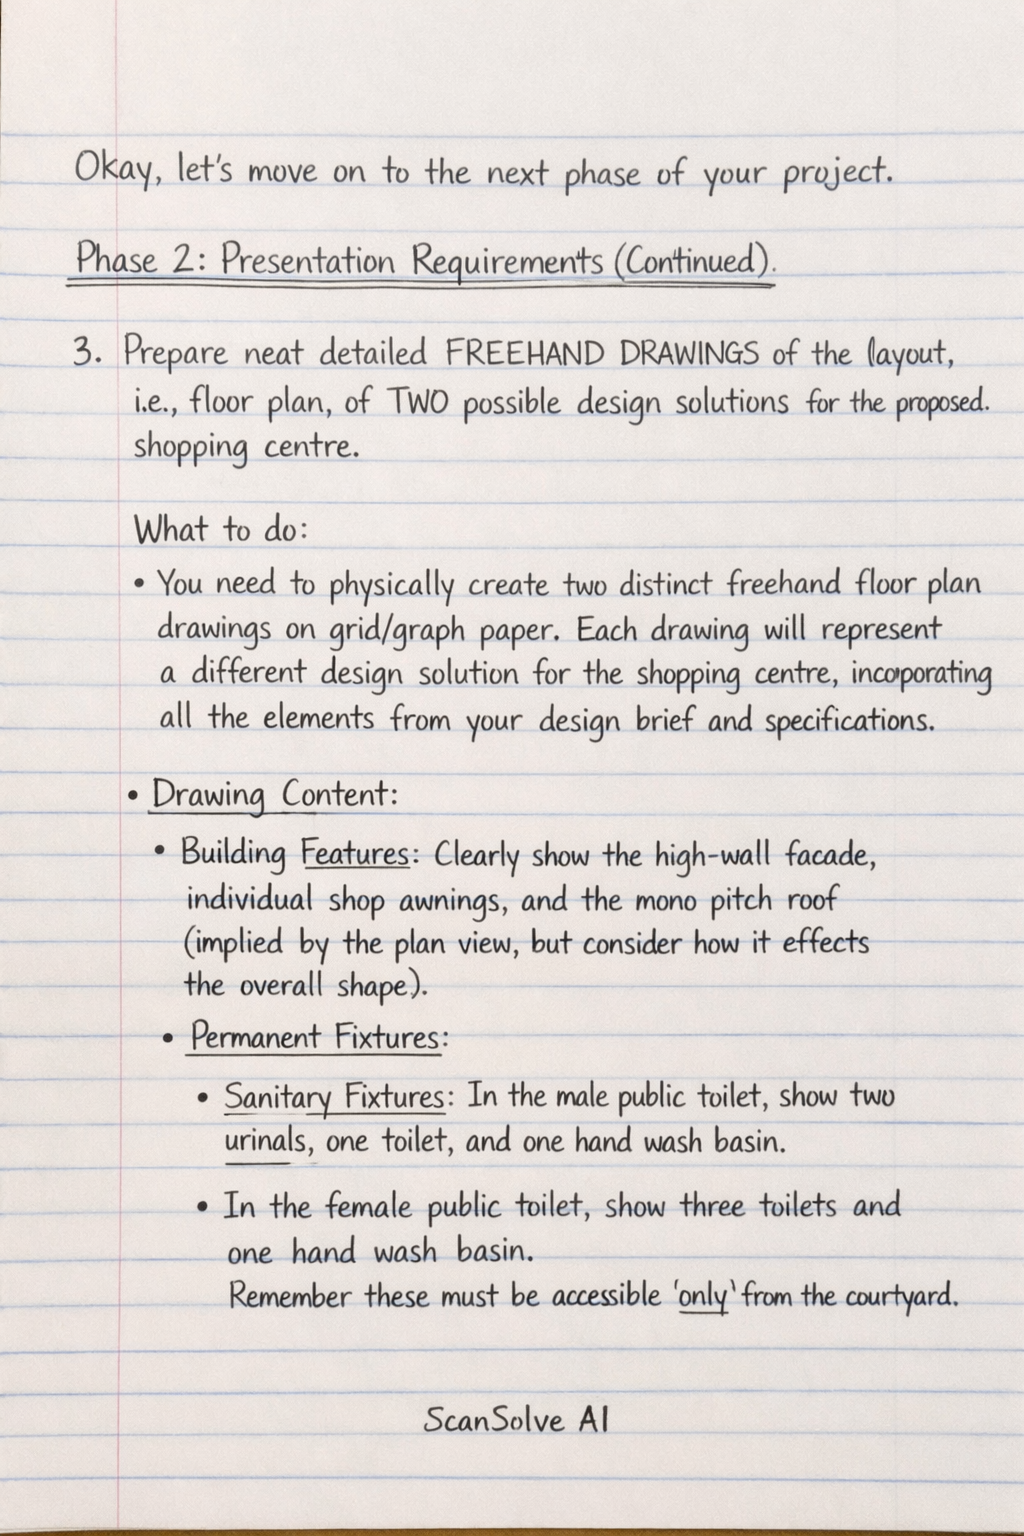
Okay, let's move on to the next phase of your project.
Phase 2: Presentation Requirements (Continued)
3. Prepare neat detailed FREEHAND DRAWINGS of the layout, i.e., floor plan, of TWO possible design solutions for the proposed shopping centre.
- What to do: You need to physically create two distinct freehand floor plan drawings on grid/graph paper. Each drawing will represent a different design solution for the shopping centre, incorporating all the elements from your design brief and specifications.
- Drawing Content:
- Building Features: Clearly show the high-wall facade, individual shop awnings, and the mono pitch roof (implied by the plan view, but consider how it affects the overall shape).
- Permanent Fixtures:
- Sanitary Fixtures: In the male public toilet, show two urinals, one toilet, and one hand wash basin. In the female public toilet, show three toilets and one hand wash basin. Remember these must be accessible only from the courtyard.
- Shop Fixtures: For each shop (e.g., bakery, butchery), indicate the till points, two display cabinets, and a walk-in refrigerator.
- Courtyard: Clearly delineate the courtyard, enclosed by a 3 m high brick wall, with a single sliding gate. Ensure it's accessible from the front but not visible from the street. Show the delivery entrance, waste disposal area, and staff amenities within or adjacent to the courtyard.
- Walkway: Include a clear walkway for customer circulation.
- Dimensions and Labels: Add primary dimensions to your drawings and label all key areas (e.g., "Shop 1 - Bakery," "Male Toilets," "Courtyard," "Waste Area").
- Area Calculations Table: On each freehand drawing, include a table that clearly shows:
- The total area of the shopping centre.
- The floor area of the bakery.
- The floor area of the butchery.
- The floor area of the walk-in refrigerator for each shop.
- Drawing Standards:
- Use grid/graph paper to ensure features and fixtures are drawn to proportion.
- Ensure your drawings comply with the SANS 10143 Guidelines for architectural drawings.
- The drawings must demonstrate a high level of competency in freehand drawing.
4. Select the best solution, which demonstrates an in-depth understanding of the scenario within the context of the design brief, specifications and constraints.
- Evaluation Table: On a separate page, create a table to compare your two freehand design solutions. The table should have at least four relevant and self-explanatory descriptive criteria.
- Example Criteria:
- Functionality and Flow: How well does the layout facilitate customer movement, deliveries, and staff operations?
- Aesthetic Appeal: How visually appealing is the design, particularly the facade and courtyard integration?
- Compliance with Specifications: How thoroughly does the design meet all the listed specifications (e.g., toilet facilities, courtyard visibility, roof type)?
- Space Utilization: How efficiently is the available space used, minimizing wasted areas while ensuring comfort and accessibility?
- Cost-Effectiveness (Implied): Does the design appear practical and potentially economical to construct based on its complexity?
- Example Criteria:
- Rating Scale: Apply a simple rating scale (e.g., 1-5, where 1 is poor and 5 is excellent) to score each solution against each criterion.
- Justification: For each score, provide a brief justification describing the positive and/or negative aspects of that specific solution concerning the criterion.
- Comprehensive Summary: After the table, write a comprehensive summary (approximately 2-3 paragraphs) explaining why you selected one of your freehand solutions as the best.
- Reasons for Selection: Clearly articulate the strengths of the chosen solution, referencing how it effectively addresses the design brief, specifications, and constraints.
- Late Changes: State whether any late changes were made to the selected freehand solution during the design process and, if so, briefly explain what they were and why they were implemented.
Was this helpful?
Still stuck on this one?
Ask a follow-up, and the answer starts from this question.
Got a different question?Ask your own question
More Business/Management Questions
QCreate technical drawings based on a plan view of furniture, providing calculations for dimensions…QCreate a detailed dimensional breakdown of a piece of furniture based on provided elevations and…QEvaluate and adapt your rough sketches. Your team will now prepare a tender. To start, choose the…QDraw a labelled freehand sketch showing the different dimensions of a 2D shape and a 3D object.QDraw the sectional elevation, sectional side view A-A, and plan for the given mechanical elements.
Handwritten Step-by-Step Solution
Get this as a handwritten image on WhatsApp — like a tutor wrote it for you.
Try on WhatsApp