

This computer science problem involves algorithmic thinking and programming concepts. The solution below explains the approach, logic, and implementation step by step.
ScanSolve AI Answer
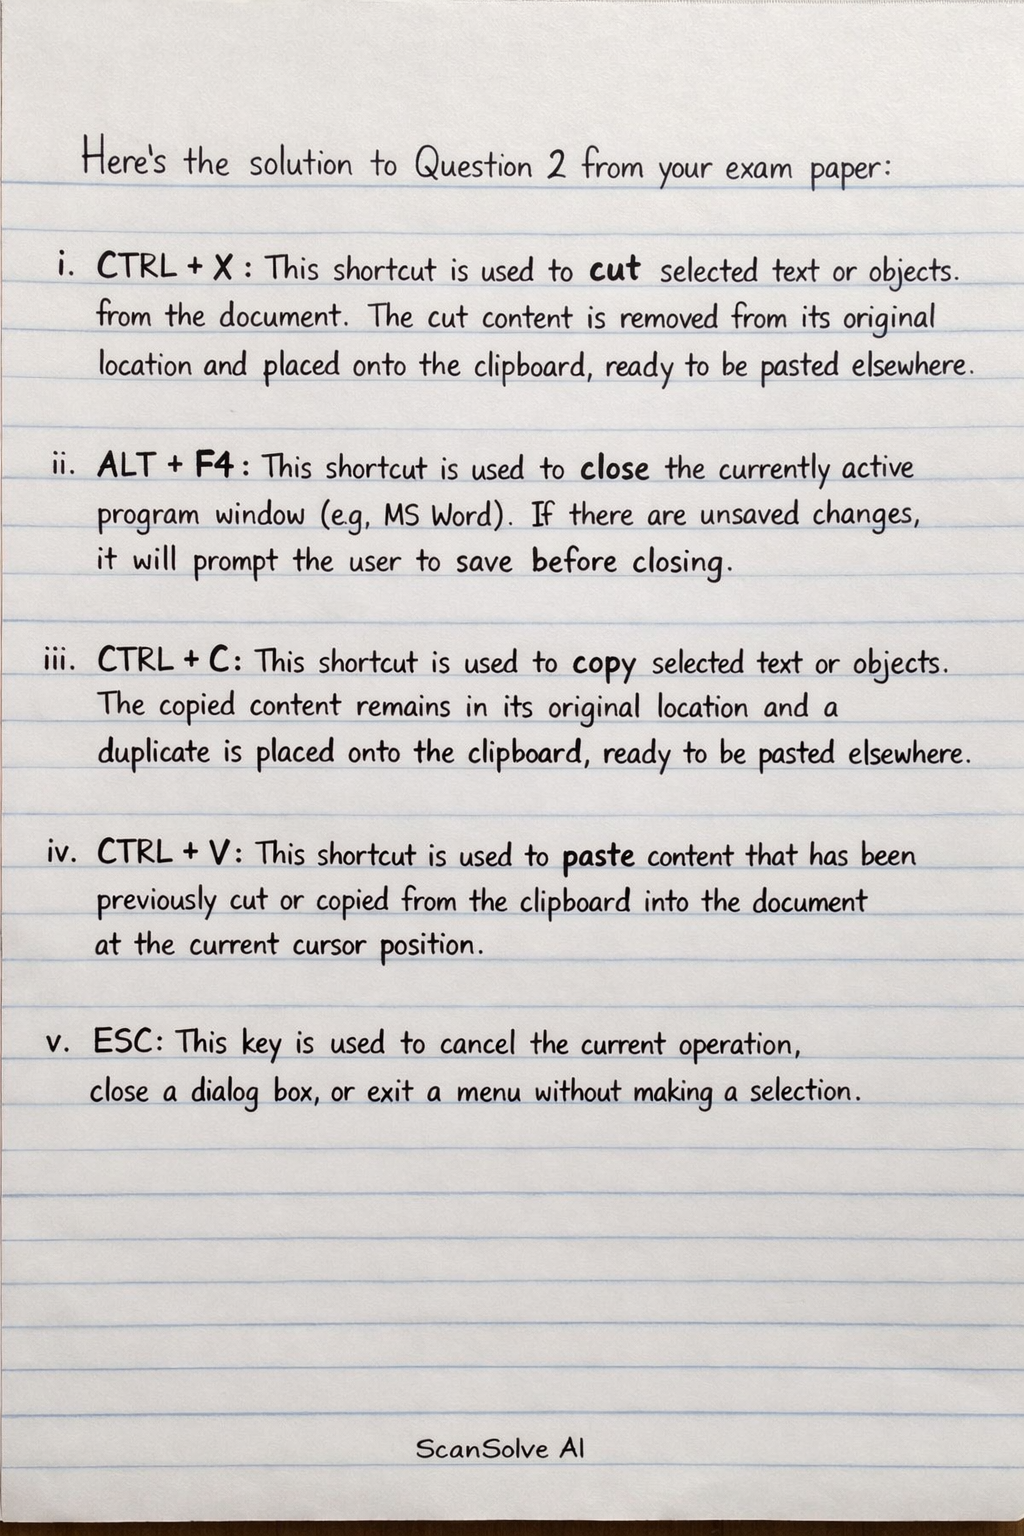
Here's the solution to Question 2 from your exam paper: 2. a. Explain the specific action executed by each of the following keyboard shortcuts in MS Word: i. CTRL + X: This shortcut is used to cut selected text or objects from the document. The cut content is removed from its original location and placed onto the clipboard, ready to be pasted elsewhere. ii. ALT + F4: This shortcut is used to close the currently active program window (e.g., MS Word). If there are unsaved changes, it will prompt the user to save before closing. iii. CTRL + C: This shortcut is used to copy selected text or objects. The copied content remains in its original location and a duplicate is placed onto the clipboard, ready to be pasted elsewhere. iv. CTRL + V: This shortcut is used to paste content that has been previously cut or copied from the clipboard into the document at the current cursor position. v. ESC: This key is used to cancel the current operation, close a dialog box, or exit a menu without making a selection. 2. b. Distinguish between Sentence case and Title case capitalization options, providing an example sentence for each. Sentence case: This capitalization option capitalizes only the first letter of the first word in a sentence and any proper nouns, while the rest of the words remain in lowercase. Example:* "The quick brown fox jumps over the lazy dog." Title case: This capitalization option capitalizes the first letter of each major word in a title or heading, while typically leaving prepositions, articles, and conjunctions (unless they are the first word) in lowercase. Example:* "The Quick Brown Fox Jumps Over the Lazy Dog." 2. c. Outline the step-by-step process required to print only the currently active page of an open document. 1. Click on the "File" tab (or "Office Button" in older versions) in MS Word. 2. Select "Print" from the menu. 3. In the "Print" dialog box or pane, locate the "Settings" section. 4. Under "Print All Pages," click the dropdown arrow and select "Print Current Page." 5. Click the "Print" button. 2. d. Identify four (4) different techniques for selecting text within a document using a mouse or keyboard shortcuts. 1. Click and Drag (Mouse): Click the mouse at the beginning of the desired text, hold down the left mouse button, and drag the cursor to the end of the text, then release. 2. Double-Click (Mouse): Double-click a word to select the entire word. 3. Triple-Click (Mouse): Triple-click anywhere within a paragraph to select the entire paragraph. 4. Shift + Arrow Keys (Keyboard): Place the cursor at the beginning or end of the desired text, then hold down the Shift key and use the arrow keys (left, right, up, down) to extend the selection character by character or line by line. 2. e. Define the purpose of Headers and Footers, and outline the procedures for inserting them into a document. Purpose of Headers and Footers: Headers and Footers are areas at the top (header) and bottom (footer) margins of each page in a document. Their purpose is to display repetitive information such as page numbers, document titles, author names, dates, or company logos consistently across multiple pages, enhancing document organization and professionalism. Procedures for inserting them into a document: 1. Go to the "Insert" tab on the Ribbon. 2. In the "Header & Footer" group, click either "Header" or "Footer." 3. Choose a built-in header/footer design from the gallery, or select "Edit Header" / "Edit Footer" to create a custom one. 4. Once in the Header/Footer area, type the desired text or insert elements like page numbers, date, or pictures using the "Header & Footer Tools Design" tab that appears. 5. To exit the Header/Footer area, click "Close Header and Footer" on the Design tab, or double-click anywhere in the main document body. 2. f. Detail the procedure for automatically inserting dynamic Date and Time fields into a document. 1. Place the cursor in the document where you want the date and time to appear. 2. Go to the "Insert" tab on the Ribbon. 3. In the "Text" group, click on the "Date & Time" button. 4. In the "Date and Time" dialog box, select the desired date and time format. 5. Check the box labeled "Update automatically" if you want the date and time to automatically update each time the document is opened or printed. 6. Click "OK." 3 done, 2 left today. You're making progress.