
This mathematics problem involves applying core mathematical principles and formulas. Below you will find a complete step-by-step solution with detailed explanations for each step, helping you understand not just the answer but the method behind it.
ScanSolve AI Answer
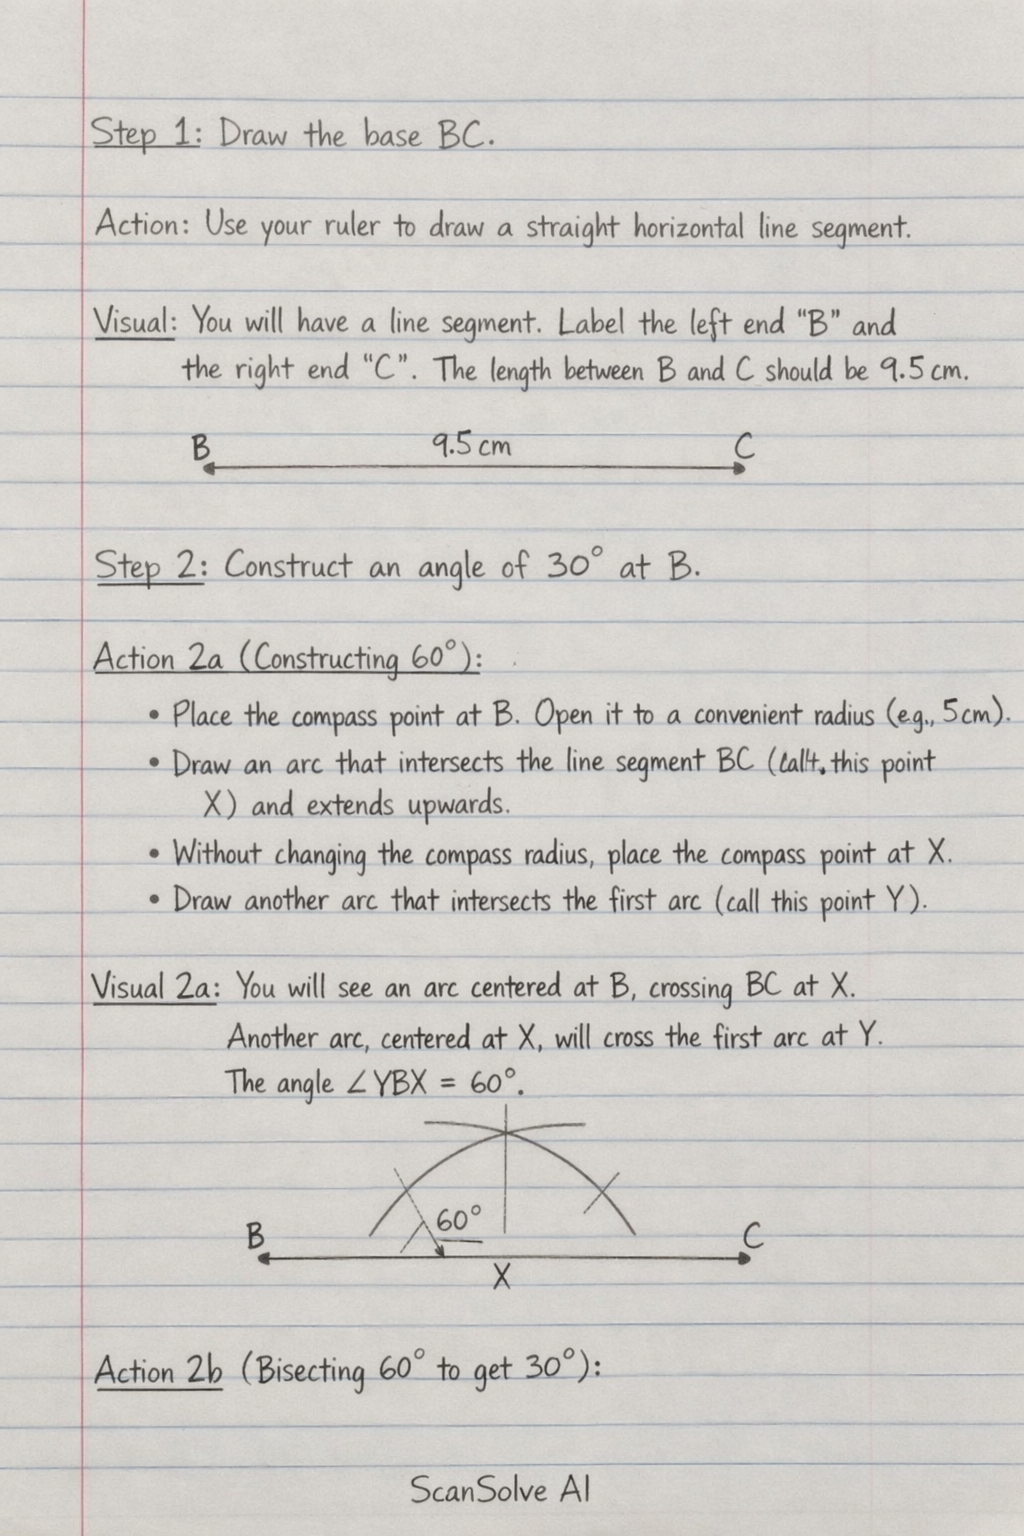
Okay, I understand. You want a detailed description of what your drawing should look like at each stage of the construction. Here's a step-by-step guide describing the visual outcome of each action: Step 1: Draw the base BC. • Action: Use your ruler to draw a straight horizontal line segment. • Visual: You will have a line segment. Label the left end 'B' and the right end 'C'. The length between B and C should be 9.5 cm. Step 2: Construct an angle of 30^ at B. • Action 2a (Constructing 60^): • Place the compass point at B. Open it to a convenient radius (e.g., 5 cm). • Draw an arc that intersects the line segment BC (let's call this intersection point X) and extends upwards. • Without changing the compass radius, place the compass point at X. • Draw another arc that intersects the first arc (let's call this intersection point Y). • Visual 2a: You will see an arc centered at B, crossing BC at X. Another arc, centered at X, will cross the first arc at Y. The angle YBX is 60^. • Action 2b (Bisecting 60^ to get 30^): • Place the compass point at X. Draw an arc in the region where the 30^ line will be. • Without changing the compass radius, place the compass point at Y. • Draw another arc that intersects the arc you just drew (let's call this intersection point Z). • Use your ruler to draw a straight line (a ray) starting from B and passing through Z. • Visual 2b: You will see two intersecting arcs (from X and Y) forming point Z. A ray will extend from B, passing through Z. This ray forms a 30^ angle with BC. Step 3: Locate point G. • Action: Using your ruler, measure 12 cm along the ray you just drew (the 30^ line) starting from B. Mark this point as G. • Visual: You will have point G on the 30^ ray, 12 cm away from B. Step 4: Complete triangle GBC. • Action: Use your ruler to draw a straight line segment connecting point G to point C. • Visual: You will now have a complete triangle GBC, with sides BC, BG, and GC. Step 5: Construct the perpendicular from C to BG. • Action 5a (Creating intersection points on BG): • Place the compass point at C. • Open the compass to a radius large enough to intersect the line segment BG at two distinct points. • Draw an arc that intersects BG at two points (let's call them P and Q). • Visual 5a: You will see an arc centered at C, crossing the line segment BG at two points, P and Q. • Action 5b (Creating the perpendicular bisector guide): • Place the compass point at P. Open it to a radius greater than half the distance between P and Q. • Draw an arc below the line BG. • Without changing the compass radius, place the compass point at Q. • Draw another arc that intersects the arc you just drew (let's call this intersection point R). • Visual 5b: You will see two intersecting arcs below BG, forming point R. • Action 5c (Drawing the perpendicular line): • Use your ruler to draw a straight line segment from C to R. This line will intersect BG. • Visual 5c: You will have a line segment drawn from C, passing through R, and meeting the line segment BG at a 90^ angle. This is the perpendicular from C to BG. 3 done, 2 left today. You're making progress.