
This biology question covers important biological concepts and processes. The step-by-step explanation below helps you understand the underlying mechanisms and reasoning.
ScanSolve AI Answer
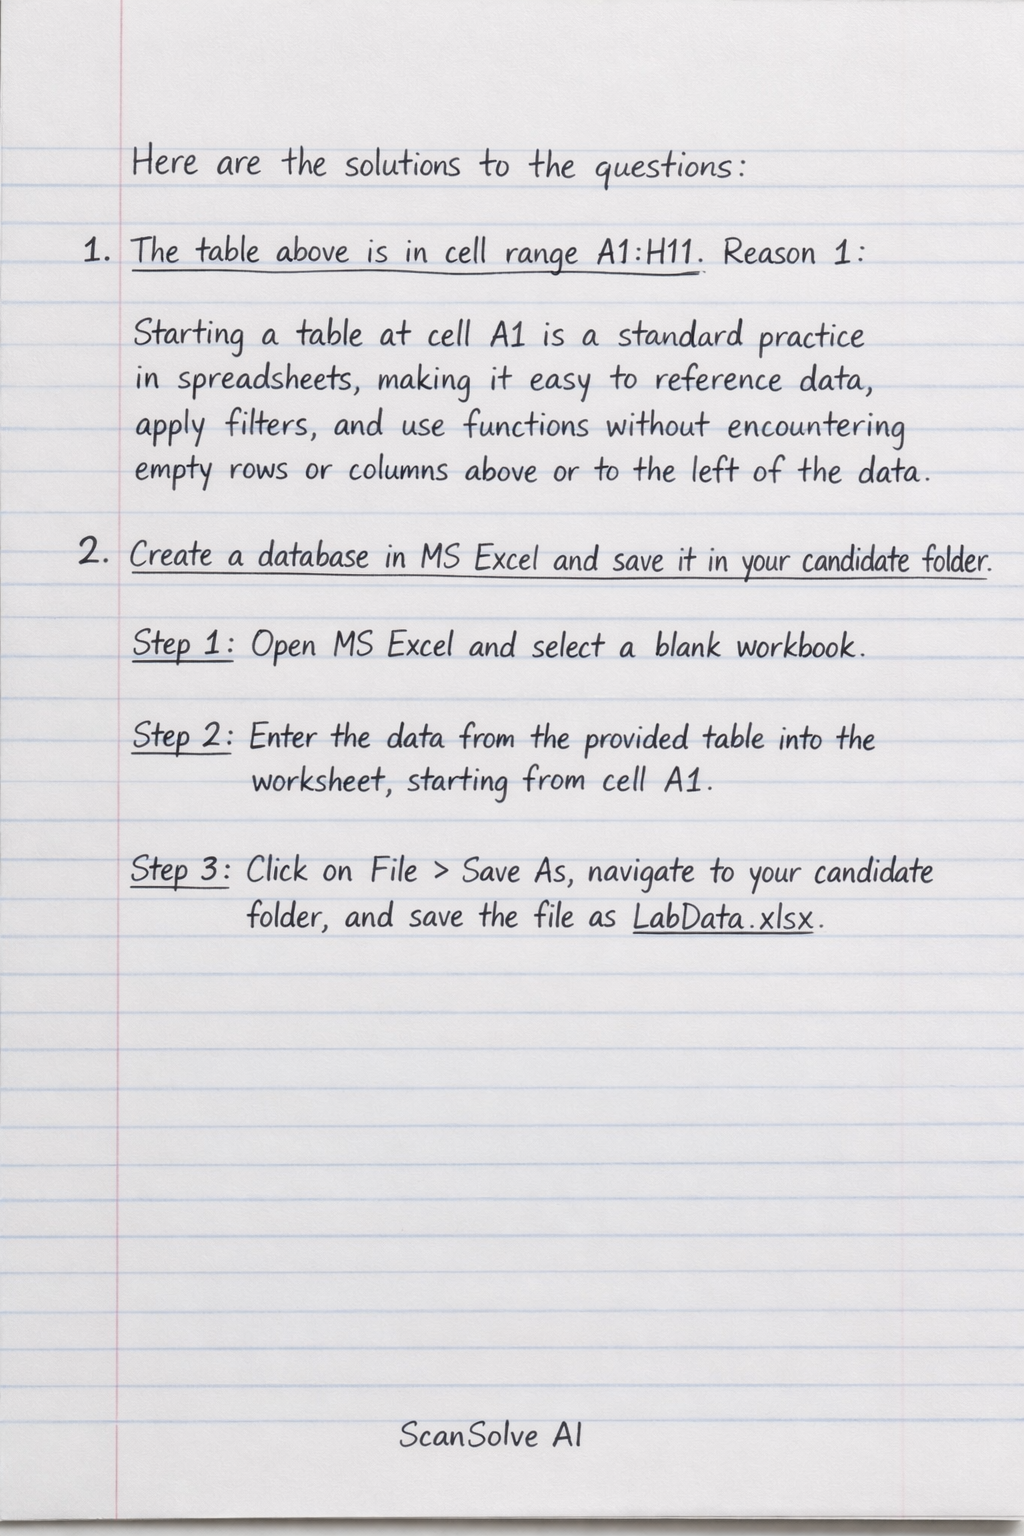
Here are the solutions to the questions: 1. The table above is in cell range A1:H11. Reason 1: Starting a table at cell A1 is a standard practice in spreadsheets, making it easy to reference data, apply filters, and use functions without encountering empty rows or columns above or to the left of the data. 2. Create a database in MS Excel and save it in your candidate folder. Step 1: Open MS Excel and select a blank workbook. Step 2: Enter the data from the provided table into the worksheet, starting from cell A1. Step 3: Click on File > Save As, navigate to your candidate folder, and save the file as LabData.xlsx. 3. Import the spreadsheet above into your database. Use the data as found in in your candidate folder. Ensure the field names are the same as above. Step 1: Open MS Access and create a new blank database. Step 2: Go to the External Data tab in the Access ribbon. Step 3: Click on New Data Source > From File > Excel. Step 4: Browse to your candidate folder, select LabData.xlsx, and click Open. Choose "Import the source data into a new table in the current database" and click OK. Step 5: In the Import Spreadsheet Wizard, ensure "First Row Contains Column Headings" is checked. Click Next. Step 6: Review the field names and data types. Ensure they match the original spreadsheet. Click Next. Step 7: Choose "Let Access add primary key" or define your own. Click Next. Step 8: Enter a table name (e.g., OriginalLabData) and click Finish. 4. Create a query or form that will display the First Name, Last Name, and the male (M) students who carried out practicals in Lab 1 or Lab 2. Sort the records in ascending order by subjects. Adjust the field width to display all the data. Save data. Save asMaleLab. Step 1: In MS Access, go to the Create tab and click Query Design. Step 2: Add the OriginalLabData table to the query. Step 3: Drag the First Name, Last Name, and Department fields to the design grid. Step 4: In the Gender field's "Criteria" row, type "M". Step 5: In the Lab field's "Criteria" row, type "LAB 1" and in the "or" row below it, type "LAB 2". Step 6: In the Department field's "Sort" row, select Ascending. Step 7: Run the query to view the results. Adjust column widths as needed in the datasheet view. Step 8: Save the query as MaleLab. 5. Give the two possible ways to select all fields. 1. In a table or query datasheet view, click the top-left corner of the datasheet (the square where the row and column headers meet). 2. Use the keyboard shortcut Ctrl + A (select all). **6. To normalize the database, create the following structures for the sub tables, Students, Subjects, and LabRoom. A faster way of creating the three sub tables using a Practical table and then delien delete unwanted fields. Create the following tables in MS Access: Students, Subjects, and LabRoom using the structures below. Students(StudentID, FirstName, LastName, Gender) Subjects(SubjectID, SubjectName) LabRoom(SectionID, LabRoomName)** Step 1: In MS Access, go to the Create tab and click Table Design for each table. Step 2: For the Students table: • Add StudentID (AutoNumber, Primary Key). • Add FirstName (Short Text). • Add LastName (Short Text). • Add Gender (Short Text). Step 3: For the Subjects table: • Add SubjectID (AutoNumber, Primary Key). • Add SubjectName (Short Text). Populate this table with unique values from the Department column (Science, Arts, Business). Step 4: For the LabRoom table: • Add SectionID (AutoNumber, Primary Key). • Add LabRoomName (Short Text). Populate this table with unique values from the Lab column (LAB 1, LAB 2, LAB 3). Step 5: Save each table with its respective name: Students, Subjects, LabRoom. Step 6: To populate Students from OriginalLabData, you would typically create an append query or manually copy/paste, ensuring StudentID is unique. For Subjects and LabRoom, create make-table queries from OriginalLabData to extract unique Department and Lab values, then set SubjectID and SectionID as AutoNumber primary keys. 7. Create a relationship among the database from the three created tables above. Use referential integrity. Step 1: Modify the Students table to include foreign keys: • Add SubjectID_FK (Number, Long Integer) to link to Subjects.SubjectID. • Add SectionID_FK (Number, Long Integer) to link to LabRoom.SectionID. Step 2: Go to the Database Tools tab and click Relationships. Step 3: Add the Students, Subjects, and LabRoom tables to the Relationships window. Step 4: Create relationships: • Drag SubjectID from the Subjects table to SubjectID_FK in the Students table. • Drag SectionID from the LabRoom table to SectionID_FK in the Students table. Step 5: In the "Edit Relationships" dialog box for each relationship, check the box for Enforce Referential Integrity and click Create. Send me the next one 📸