
This business/management problem is solved step by step below, with detailed explanations to help you understand the method and arrive at the correct answer.
ScanSolve AI Answer
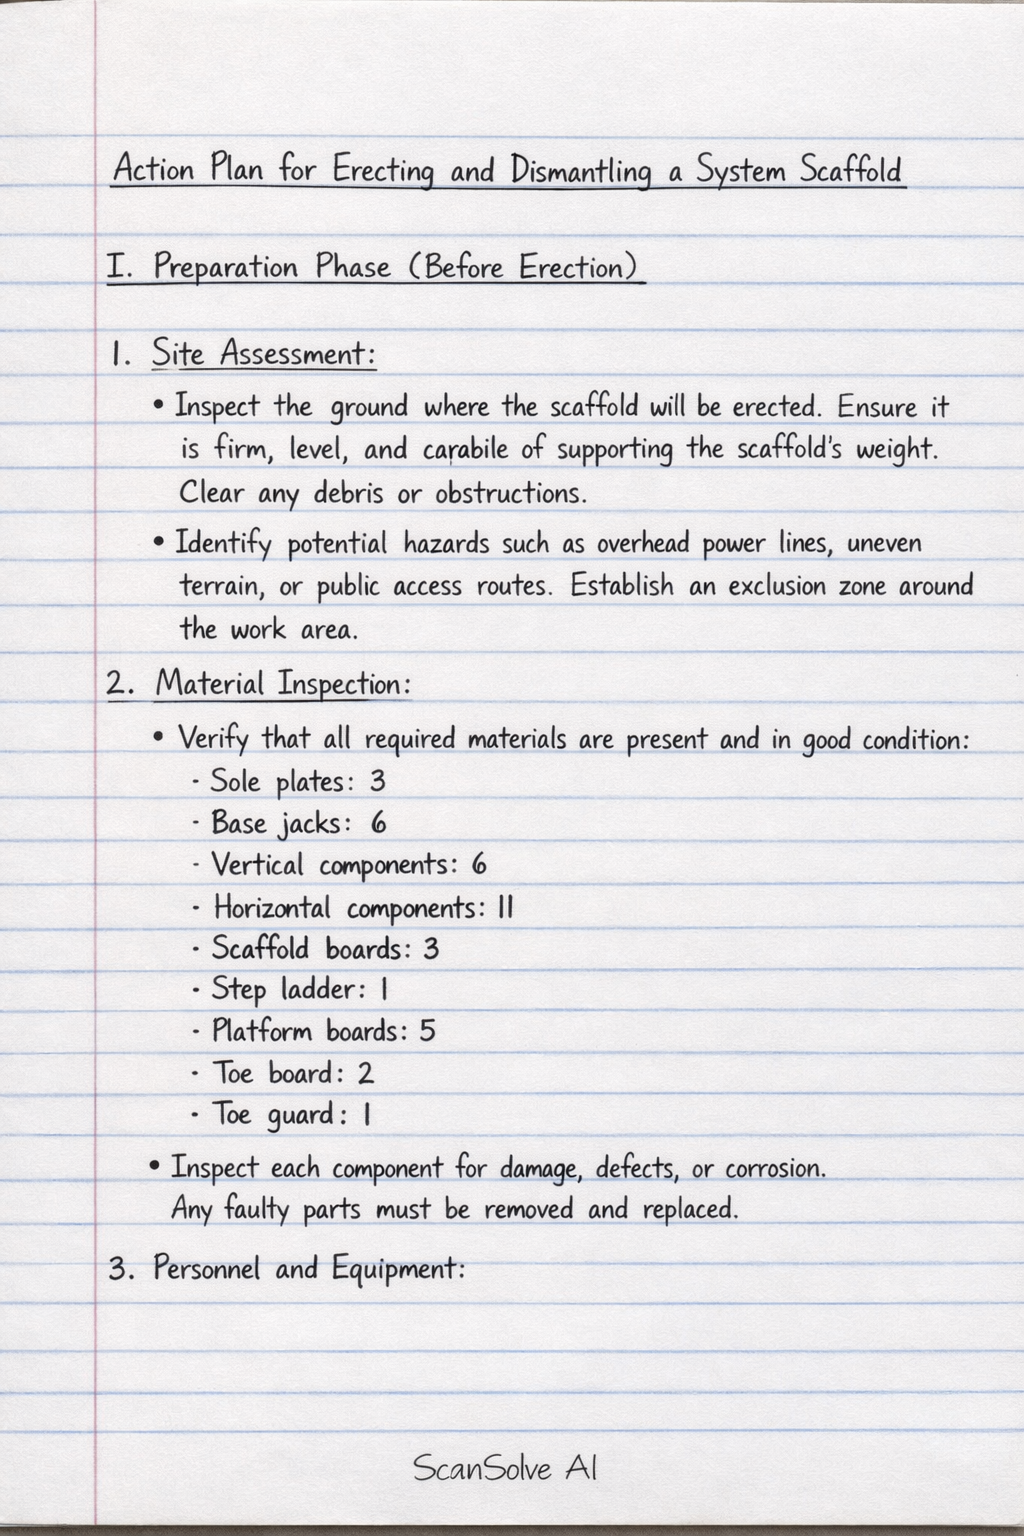
Here is an action plan for erecting and dismantling a system scaffold, based on the provided material list. Action Plan for Erecting and Dismantling a System Scaffold I. Preparation Phase (Before Erection) 1. Site Assessment: Inspect the ground where the scaffold will be erected. Ensure it is firm, level, and capable of supporting the scaffold's weight. Clear any debris or obstructions. Identify potential hazards such as overhead power lines, uneven terrain, or public access routes. Establish an exclusion zone around the work area. 2. Material Inspection: Verify that all required materials are present and in good condition: Sole plates: 3 Base jacks: 6 Vertical components: 6 Horizontal components: 11 Scaffold boards: 3 Step ladder: 1 Platform boards: 5 Toe board: 2 Toe guard: 1 Inspect each component for damage, defects, or corrosion. Any faulty parts must be removed and replaced. 3. Personnel and Equipment: Ensure all personnel involved in erection and dismantling are trained, competent, and understand their roles. Confirm all workers are wearing appropriate Personal Protective Equipment (PPE), including hard hats, safety footwear, gloves, and fall protection as required. Gather necessary tools such as a spirit level, tape measure, and spanners. 4. Review Plan: Understand the scaffold design (if "drawing 1" were available) and the planned sequence of erection and dismantling. II. Erection Phase 1. Base Installation: Place the sole plates* on the prepared ground at the intended positions for the scaffold's vertical supports. Insert the base jacks into the sole plates. Adjust the base jacks* to ensure a level foundation for the scaffold. 2. First Lift Erection: Insert the vertical components (standards) into the base jacks*. Connect the vertical components with horizontal components* (ledgers) to form the perimeter of the first lift. Ensure all connections are secure. Install diagonal bracing using additional horizontal components* to provide stability and prevent racking. 3. Platform Installation (First Level): Install horizontal components* (transoms) to support the working platform. Lay the scaffold boards and platform boards* securely on the transoms, ensuring full coverage with no gaps. 4. Access and Edge Protection: Position the step ladder* for safe access to the working platform. Install the toe boards and the toe guard* around the perimeter of the working platform to prevent objects from falling and to provide foot protection. Install guardrails (using additional horizontal components* or dedicated guardrail components, if available) to prevent falls from height. 5. Subsequent Lifts (if applicable): If the scaffold requires additional height, repeat steps 2-4 for each subsequent lift, ensuring each level is plumb, level, and securely braced. 6. Final Inspection (Erection): A competent person must conduct a thorough inspection of the erected scaffold before it is put into use. Verify that it complies with safety standards, design specifications, and is stable. III. Dismantling Phase 1. Preparation for Dismantling: Clear the scaffold of all tools, materials, and debris. Ensure the area below the scaffold is clear and secured with an exclusion zone to prevent unauthorized access. Inspect the scaffold for any damage or alterations that might affect safe dismantling. 2. Reverse Order Dismantling (Top-Down): Starting from the highest working level, carefully remove any guardrails, then the toe boards and toe guard*. Remove the scaffold boards and platform boards*, lowering them safely to the ground in a controlled manner. Dismantle the horizontal components* (ledgers and transoms) of the top lift. Remove any diagonal bracing. Remove the vertical components* (standards) of the top lift. 3. Continue Downwards: Repeat the dismantling process for each subsequent lift, working systematically downwards. 4. Base Dismantling: Once all upper components are removed, dismantle the remaining vertical components, horizontal components, base jacks, and finally the sole plates*. 5. Component Handling and Storage: Lower all components in a controlled manner, avoiding dropping them. Inspect components for damage during dismantling. Stack and store components neatly and safely, ready for transport or future use. 6. Site Clearance: Clear the site of any remaining debris or materials. 3 done, 2 left today. You're making progress.