
We read your photo as:
Provide steps for the following tasks in MS Windows and MS Word: connecting Bluetooth, changing user accounts, locking the computer, taking screenshots, and creating a new document.
ScanSolve AI Answer
Step-by-step solution
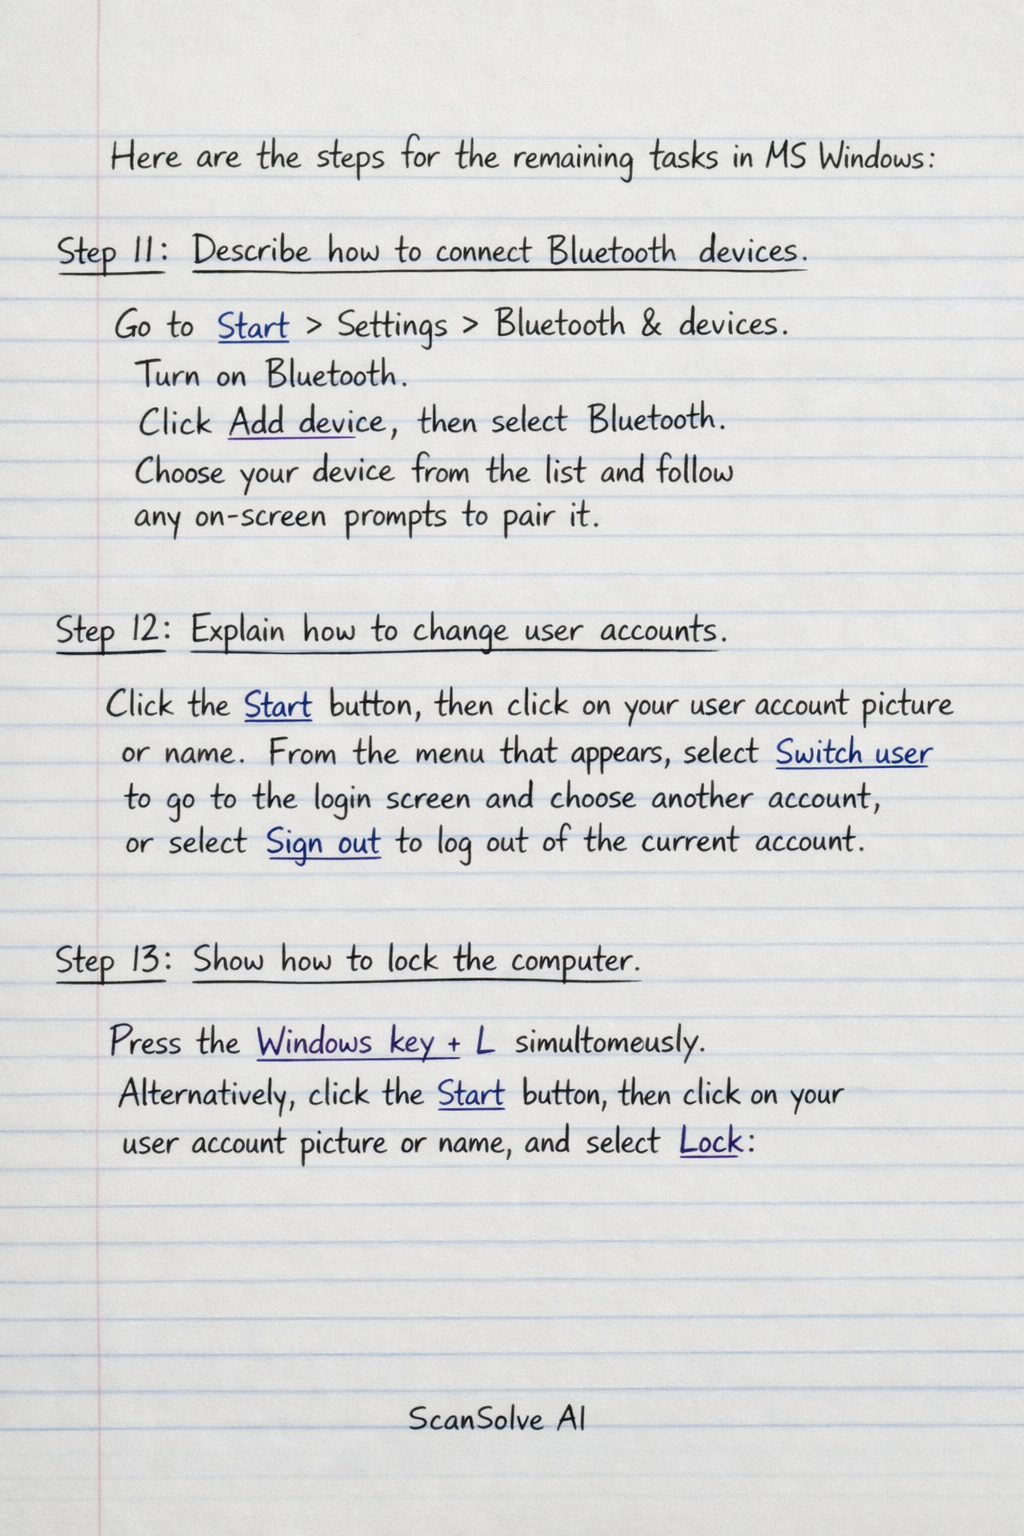
24 stepsHere are the steps for the remaining tasks in MS Windows:
Describe how to connect Bluetooth devices.
Go to Start > Settings > Bluetooth & devices. Turn on Bluetooth. Click Add device, then select Bluetooth. Choose your device from the list and follow any on-screen prompts to pair it.
Explain how to change user accounts.
Click the Start button, then click on your user account picture or name. From the menu that appears, select Switch user to go to the login screen and choose another account, or select Sign out to log out of the current account.
Show how to lock the computer.
Press the Windows key + L simultaneously. Alternatively, click the Start button, then click on your user account picture or name, and select Lock.
Describe how to take screenshots using Windows tools.
To take a screenshot of the entire screen, press the Print Screen key (PrtSc). The image is copied to your clipboard. To save it as a file, press Windows key + Print Screen. For a specific area, use the Snipping Tool (search for it in the Start menu) or press Windows key + Shift + S to open the Snip & Sketch tool.
Here are the steps for each task in MS Word:
Show steps to create a new document.
Open Word, then select File > New. You can choose a blank document or select a template. Click Create or Blank document to open a new, empty document.
Describe how to save a document.
Go to File > Save As. Choose a location (e.g., OneDrive, This PC), give your document a name, and click Save. For subsequent saves, simply click the Save icon on the Quick Access Toolbar or press Ctrl + S.
Explain how to format text (bold, italic, underline).
Select the text you want to format. On the Home tab, in the Font group, click the B icon for bold, the I icon for italic, or the U icon for underline. You can also use keyboard shortcuts: Ctrl + B for bold, Ctrl + I for italic, and Ctrl + U for underline.
Show how to change font and size.
Select the text you want to modify. On the Home tab, in the Font group, click the dropdown arrow next to the current font name to choose a new font. Click the dropdown arrow next to the current font size to select a new size.
Describe how to insert a table.
Go to the Insert tab, then click Table. You can drag your mouse over the grid to select the desired number of rows and columns, or click Insert Table to specify the dimensions in a dialog box.
Explain how to add page numbers.
Go to the Insert tab, then click Page Number. Choose where you want the page numbers to appear (e.g., Top of Page, Bottom of Page) and select a style.
Show how to insert an image.
Go to the Insert tab, then click Pictures. Choose This Device to browse for an image on your computer, or Online Pictures to search for images online. Select the image and click Insert.
Describe how to align text.
Select the paragraph(s) you want to align. On the Home tab, in the Paragraph group, click the Align Left, Center, Align Right, or Justify icons to set the desired alignment.
Explain how to use spell check.
Go to the Review tab, then click Spelling & Grammar. Word will go through your document, highlighting potential errors. You can choose to ignore, change, or add words to the dictionary.
Show how to copy and paste text.
Select the text you want to copy. Right-click and choose Copy (or press Ctrl + C). Place your cursor where you want to insert the text, right-click, and choose Paste (or press Ctrl + V).
Describe how to create bullet points.
Select the text you want to turn into a bulleted list. On the Home tab, in the Paragraph group, click the Bullets icon. You can also click the dropdown arrow next to it to choose different bullet styles.
Explain how to insert a header/footer.
Go to the Insert tab, then click Header or Footer. Choose a built-in style, or click Edit Header or Edit Footer to customize your own. Double-click outside the header/footer area to exit.
Show how to adjust margins.
Go to the Layout tab, then click Margins. Choose a predefined margin setting (e.g., Normal, Narrow) or click Custom Margins to set your own specific values for top, bottom, left, and right margins.
Describe how to print a document.
Go to File > Print. In the print preview window, you can select your printer, specify the number of copies, choose which pages to print, and adjust other settings like orientation and paper size. Click Print.
Explain how to use find and replace.
On the Home tab, in the Editing group, click Replace (or press Ctrl + H). In the dialog box, type the text you want to find in the Find what field and the replacement text in the Replace with field. Click Find Next, Replace, or Replace All.
Show how to insert shapes.
Go to the Insert tab, then click Shapes. A gallery of shapes will appear. Click on the desired shape, then click and drag on your document page to draw it to the preferred size.
Describe how to apply styles.
Select the text you want to apply a style to. On the Home tab, in the Styles group, click on a style (e.g., Heading 1, Normal, Title) from the gallery to apply its predefined formatting.
Explain how to track changes.
Go to the Review tab, then click Track Changes. Select Track Changes again to turn it on. As you make edits, Word will mark them with different colors and formatting. You can then accept or reject these changes.
Show how to protect a document.
Go to File > Info. Click Protect Document, then choose an option like Restrict Editing or Encrypt with Password. Follow the prompts to set restrictions or a password.
Describe how to convert document to PDF.
Go to File > Save As. Choose a location, then in the Save as type dropdown menu, select PDF (.pdf)*. Give your document a name and click Save.
Still stuck on this one?
Ask a follow-up, and the answer starts from this question.
More Computer Science Questions
Handwritten Step-by-Step Solution
Get this as a handwritten image on WhatsApp — like a tutor wrote it for you.
Try on WhatsApp