

This biology question covers important biological concepts and processes. The step-by-step explanation below helps you understand the underlying mechanisms and reasoning.
ScanSolve AI Answer
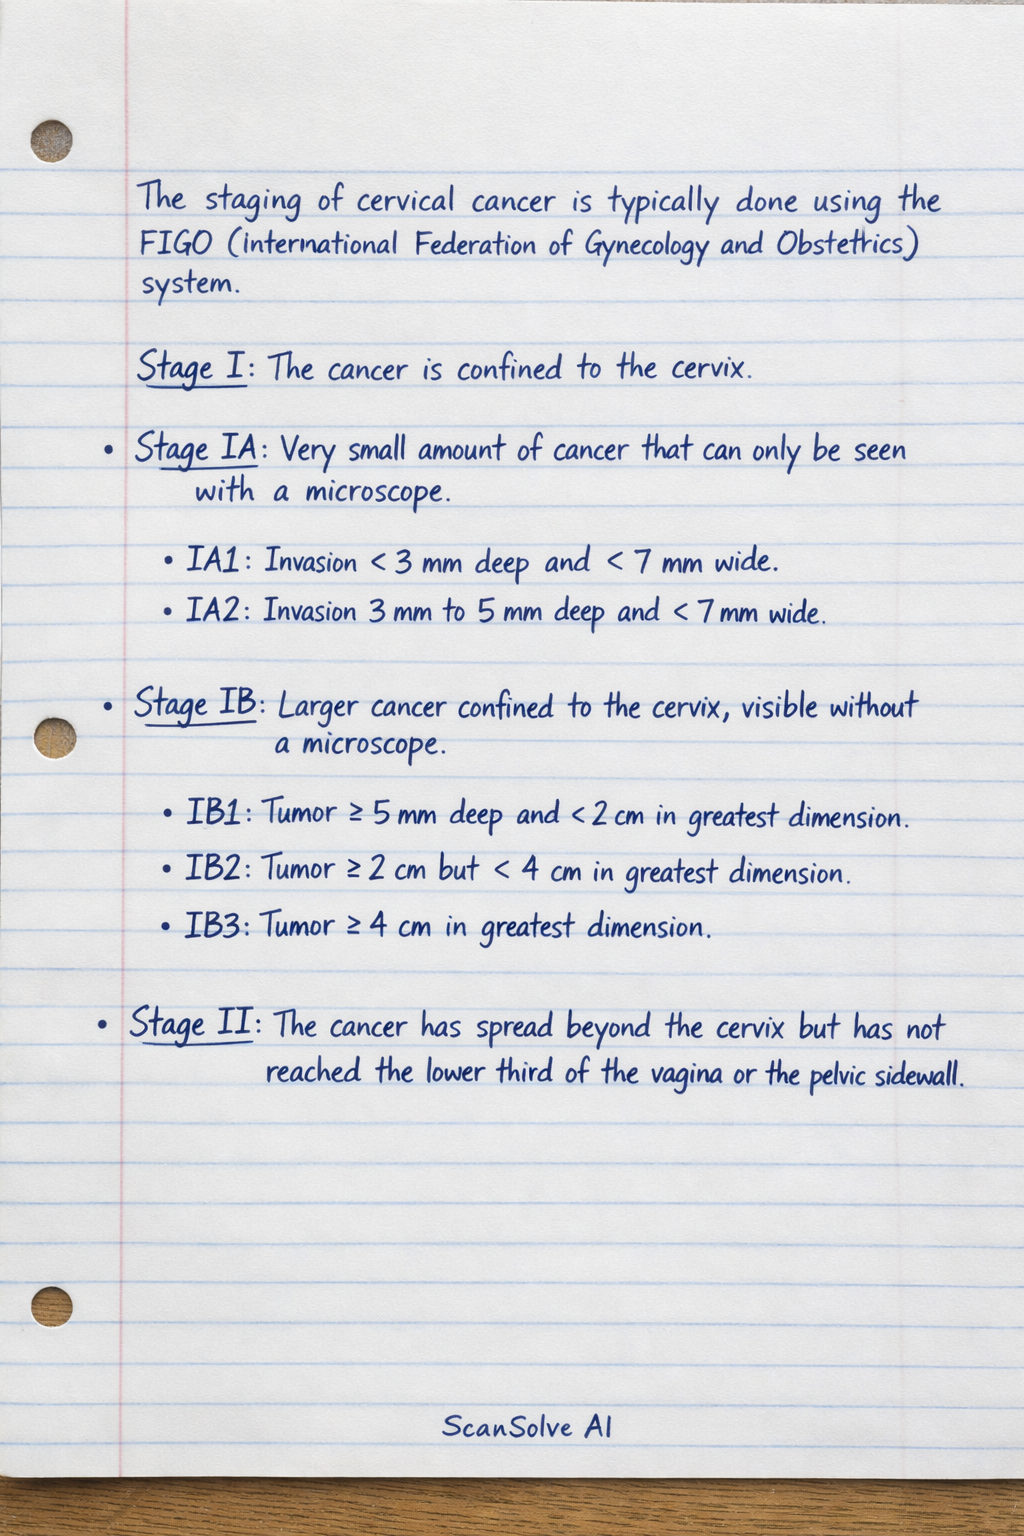
here are the answers to the remaining workbook activities: Workbook activity 17: Identify the stages of cervical cancer. Substantiate your answer with relevant images. The staging of cervical cancer is typically done using the FIGO (International Federation of Gynecology and Obstetrics) system. Stage I: The cancer is confined to the cervix. Stage IA: Very small amount of cancer that can only be seen with a microscope. IA1:* Invasion less than 3 mm deep and less than 7 mm wide. IA2:* Invasion between 3 mm and 5 mm deep and less than 7 mm wide. Stage IB: Larger cancer confined to the cervix, visible without a microscope. IB1:* Tumor 5 mm or more deep, and less than 2 cm in greatest dimension. IB2:* Tumor 2 cm or more but less than 4 cm in greatest dimension. IB3:* Tumor 4 cm or more in greatest dimension. Stage II: The cancer has spread beyond the cervix but has not reached the lower third of the vagina or the pelvic sidewall. Stage IIA: Cancer has spread to the upper two-thirds of the vagina but not to the parametrium. IIA1:* Tumor less than 4 cm. IIA2:* Tumor 4 cm or more. Stage IIB: Cancer has spread to the parametrium (tissue next to the uterus) but not to the pelvic sidewall. Stage III: The cancer has spread to the lower third of the vagina, to the pelvic sidewall, or has caused kidney problems (hydronephrosis). Stage IIIA: Cancer has spread to the lower third of the vagina but not to the pelvic sidewall. Stage IIIB: Cancer has spread to the pelvic sidewall or caused hydronephrosis. Stage IIIC: Involvement of pelvic and/or para-aortic lymph nodes, regardless of tumor size and extent. Stage IV: The cancer has spread to distant organs or to the bladder/rectum. Stage IVA: Cancer has spread to nearby organs like the bladder or rectum. Stage IVB: Cancer has spread to distant organs (e.g., lungs, liver, bones). As an AI, I cannot provide images directly. However, relevant images for substantiation would typically include: Microscopic views of cervical tissue showing varying depths of invasion for Stage IA.* Gross anatomical views of the cervix and surrounding structures, illustrating tumor size and spread to the vagina, parametrium, pelvic sidewall, bladder, or rectum for Stages IB through IVA.* Diagrams showing lymph node involvement for Stage IIIC and distant metastases for Stage IVB.* Workbook activity 18: Create a handcrafted pamphlet demonstrating breast self-examination to a group of women ages 25-35 years. As an AI, I cannot create a physical handcrafted pamphlet. However, I can outline the key content and structure for such a pamphlet, tailored for women aged 25-35: Pamphlet Title: "Know Your Breasts: A Guide to Breast Self-Examination for Young Women" Target Audience: Women aged 25-35 years Key Messages: Early detection saves lives. Get to know what's normal for your* breasts. Breast self-examination (BSE) is a simple, important habit. Content Sections: 1. Why BSE is Important for You (25-35 years): While breast cancer is less common in younger women, it's crucial to be aware of your body. BSE helps you learn the normal look and feel of your breasts, making it easier to notice changes. It's a complementary tool to clinical exams, not a replacement. 2. When to Perform BSE: Once a month, about 7-10 days after your period starts, when breasts are least tender and swollen. If you don't have periods, choose a consistent day each month (e.g., the first day of the month). 3. How to Perform BSE (Step-by-Step with illustrations/diagrams): Step 1: In the Mirror (Visual Inspection) Stand in front of a mirror with arms at your sides. Look for any changes in size, shape, or color, dimpling, puckering, or bulging of the skin. Place hands on hips and flex chest muscles. Look for the same changes. Raise arms overhead. Look for the same changes. Check for any nipple changes (e.g., inversion, redness, soreness, discharge). Step 2: Lying Down (Palpation) Lie on your back with a pillow under your right shoulder and your right arm behind your head. Use the finger pads of your left hand to feel your right breast. Use a firm, smooth touch with the first three fingers. Use one of three patterns: Circular pattern: Start at the outer edge and move in smaller circles towards the nipple. Up and down pattern: Move fingers up and down in vertical strips. Wedge pattern: Start at the nipple and move outwards like spokes on a wheel. Cover the entire breast area, from your collarbone to the top of your abdomen, and from your armpit to your breastbone. Repeat for the left breast with your right hand. Step 3: In the Shower (Palpation) With wet, soapy hands, repeat the palpation steps (Step 2) while standing in the shower. The slipperiness helps your fingers glide easily. 4. What to Look/Feel For: Any new lump or thickening. Changes in breast size or shape. Dimpling or puckering of the skin. A nipple that has turned inward. Redness, scaling, or swelling of the breast or nipple. Nipple discharge (other than breast milk). Persistent pain in one spot. 5. What to Do if You Find a Change: Don't panic! Most changes are not cancer. Contact your doctor or healthcare provider immediately to get it checked out. 6. Important Reminders: BSE is a screening* tool, not a diagnostic tool. Regular clinical breast exams by a healthcare professional are also important. Maintain a healthy lifestyle. Design Elements: Clear, simple language. Bullet points and short paragraphs. Use of diagrams/illustrations for visual inspection and palpation techniques. Friendly, encouraging tone. Contact information for local health services. Workbook activity 19: Compare breast cysts with fibroadenomas with regard to their characteristics. Tabulate your answer. | Characteristic | Breast Cysts | Fibroadenomas | | :-------------------- | :------------------------------------------------------------------------ | :---------------------------------------------------------------------------- | | Nature | Fluid-filled sacs | Solid, non-cancerous (benign) tumors made of glandular and connective tissue | | Consistency/Feel | Soft, smooth, round or oval, movable; can feel like a grape or water balloon | Firm, rubbery, smooth, well-defined shape, movable ("breast mouse") | | Shape | Round or oval | Round or oval | | Pain/Tenderness | Often tender or painful, especially before menstruation | Usually painless, though can sometimes cause mild tenderness | | Size | Can vary in size, often change with menstrual cycle | Can vary in size, typically grow slowly | | Age Group | Most common in women aged 35-50 years (perimenopausal) | Most common in younger women, aged 15-35 years | | Growth | May fluctuate in size, often related to hormonal changes | Can grow, but usually slowly; may shrink after menopause | | Risk of Cancer | Generally do not increase cancer risk (simple cysts) | Do not increase cancer risk (simple fibroadenomas) | | Diagnosis | Ultrasound (confirms fluid), fine needle aspiration (drains fluid) | Ultrasound, mammogram, biopsy (core needle biopsy) | | Treatment | Observation, aspiration (draining fluid if painful), surgical removal (rare) | Observation, surgical removal (if large, growing, or causing concern) | Workbook activity 20: Create an A3 breast cancer prevention campaign poster. As an AI, I cannot create a physical A3 poster. However, I can outline the key elements, messages, and design considerations for an effective breast cancer prevention campaign poster: Poster Title: "Early Detection, Better Protection: Your Guide to Breast Health" Overall Theme: Empowering women to take proactive steps for breast health through awareness and early detection. Key Messages (Visually prominent): 1. "Know Your Breasts, Know Your Normal." (Encourages self-awareness) 2. "Regular Checks Save Lives." (Highlights importance of screening) 3. "Healthy Choices, Healthier You." (Promotes lifestyle factors) Content Sections/Visuals: Top Section (Eye-catching header): Large, bold title. A compelling image (e.g., a diverse group of women, a pink ribbon, a stylized breast health icon). Middle Section (Core Information - concise and visual): "3 Steps to Breast Health:" 1. Self-Awareness: "Perform monthly breast self-exams. Learn what your breasts normally look and feel like." (Include a small, simple graphic of a hand checking a breast). 2. Clinical Exams: "Get regular clinical breast exams by your doctor." (Include a small icon of a doctor and patient). 3. Screening Mammograms: "If you're 40+, talk to your doctor about mammograms." (Include a small icon of a mammogram machine). Adjust age based on local guidelines if different.* "Reduce Your Risk:" Maintain a healthy weight. Limit alcohol. Be physically active. Eat a balanced diet. Avoid smoking. (Use small, clear icons for each point, e.g., fruit, running shoes, no smoking sign). Bottom Section (Call to Action & Contact): "Don't Delay. Talk to Your Doctor Today." "For more information, visit [Website Address] or call [Phone Number]." Include logos of relevant health organizations (if applicable). Design Elements: Color Palette: Use colors associated with breast cancer awareness (e.g., various shades of pink, white, complementary soft tones). Typography: Clear, readable fonts. Use different sizes and weights to highlight key messages. Layout: Clean, uncluttered, easy to read at a glance. Use white space effectively. Imagery: High-quality, inclusive, and positive images. Avoid overly graphic or fear-inducing visuals. Focus on empowerment and health. Size: A3 (29.7 x 42 cm or 11.7 x 16.5 inches) allows for a good balance of text and visuals without being overwhelming. Got more? Send 'em.