
This business/management problem is solved step by step below, with detailed explanations to help you understand the method and arrive at the correct answer.
ScanSolve AI Answer
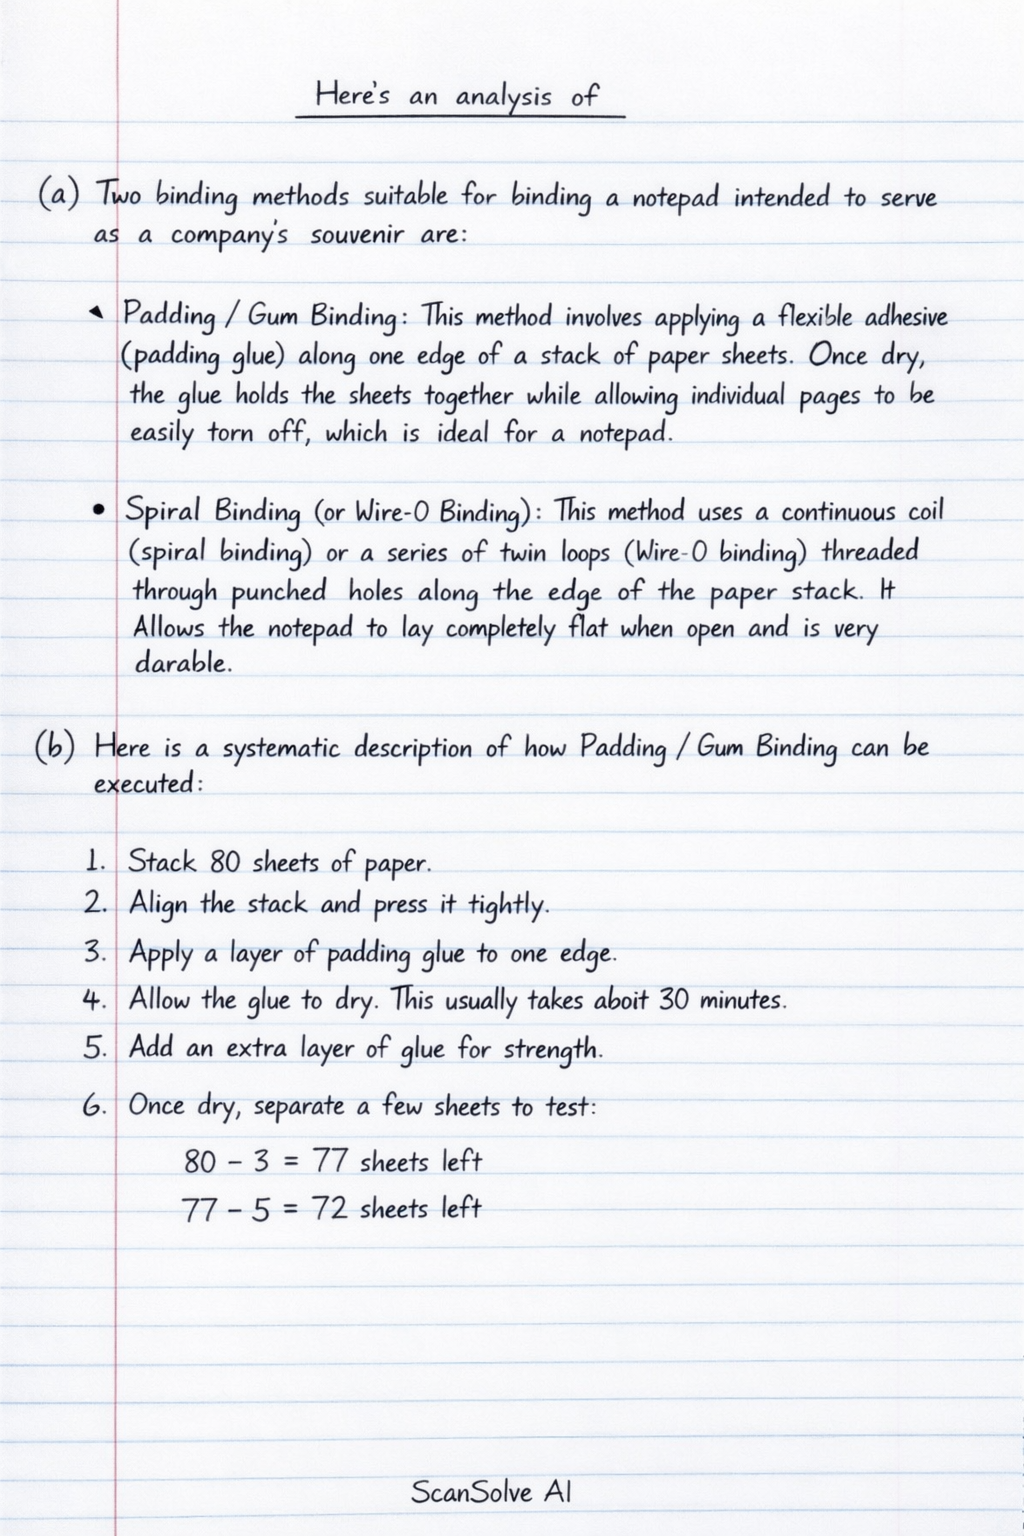
a) Two binding methods suitable for binding a notepad intended to serve as a company's souvenir are: Padding/Gum Binding: This method involves applying a flexible adhesive (padding glue) along one edge of a stack of paper sheets. Once dry, the glue holds the sheets together while allowing individual pages to be easily torn off, which is ideal for a notepad. Spiral Binding (or Wire-O Binding): This method uses a continuous coil (spiral binding) or a series of twin loops (Wire-O binding) threaded through punched holes along the edge of the paper stack. It allows the notepad to lay completely flat when open and is very durable. b) Here is a systematic description of how Padding/Gum Binding can be executed: 1. Preparation of Materials: Gather all the paper sheets that will form the notepad. Ensure they are all cut to the exact desired size and are free from creases or damage. A sturdy backing board (cardboard) and an optional front cover can also be prepared. 2. Stacking and Alignment: Neatly stack all the paper sheets, the backing board, and the front cover (if used) in the correct order. Tap the stack firmly on a flat surface to ensure all edges are perfectly aligned, especially the edge that will be glued. 3. Clamping: Place the perfectly aligned stack into a padding press or use two sturdy clamps to hold the sheets together very tightly along the edge to be bound. Ensure that the binding edge is exposed and perfectly flush, with no sheets protruding. 4. Application of Padding Compound: Apply a thin, even coat of specialized padding glue (a flexible PVA adhesive) along the entire exposed binding edge of the paper stack. Use a brush or applicator to ensure full coverage. 5. Drying and Second Coat (Optional): Allow the first coat of glue to dry completely. This usually takes 15-30 minutes, depending on the glue and environmental conditions. Once dry, apply a second, slightly thicker coat of padding glue for added strength and durability. 6. Final Drying: Allow the notepad to dry thoroughly, ideally for several hours or overnight, before removing it from the clamps. This ensures the glue has fully cured and created a strong, flexible bond. 7. Finishing: Once completely dry, carefully remove the notepad from the clamps. The pages will be securely bound along one edge, allowing individual sheets to be easily torn off as needed. (Note: In a physical presentation, illustrations would typically show the stack of paper being clamped, the application of glue, and the finished notepad.) 3 done, 2 left today. You're making progress.