

This mathematics problem involves applying core mathematical principles and formulas. Below you will find a complete step-by-step solution with detailed explanations for each step, helping you understand not just the answer but the method behind it.
ScanSolve AI Answer
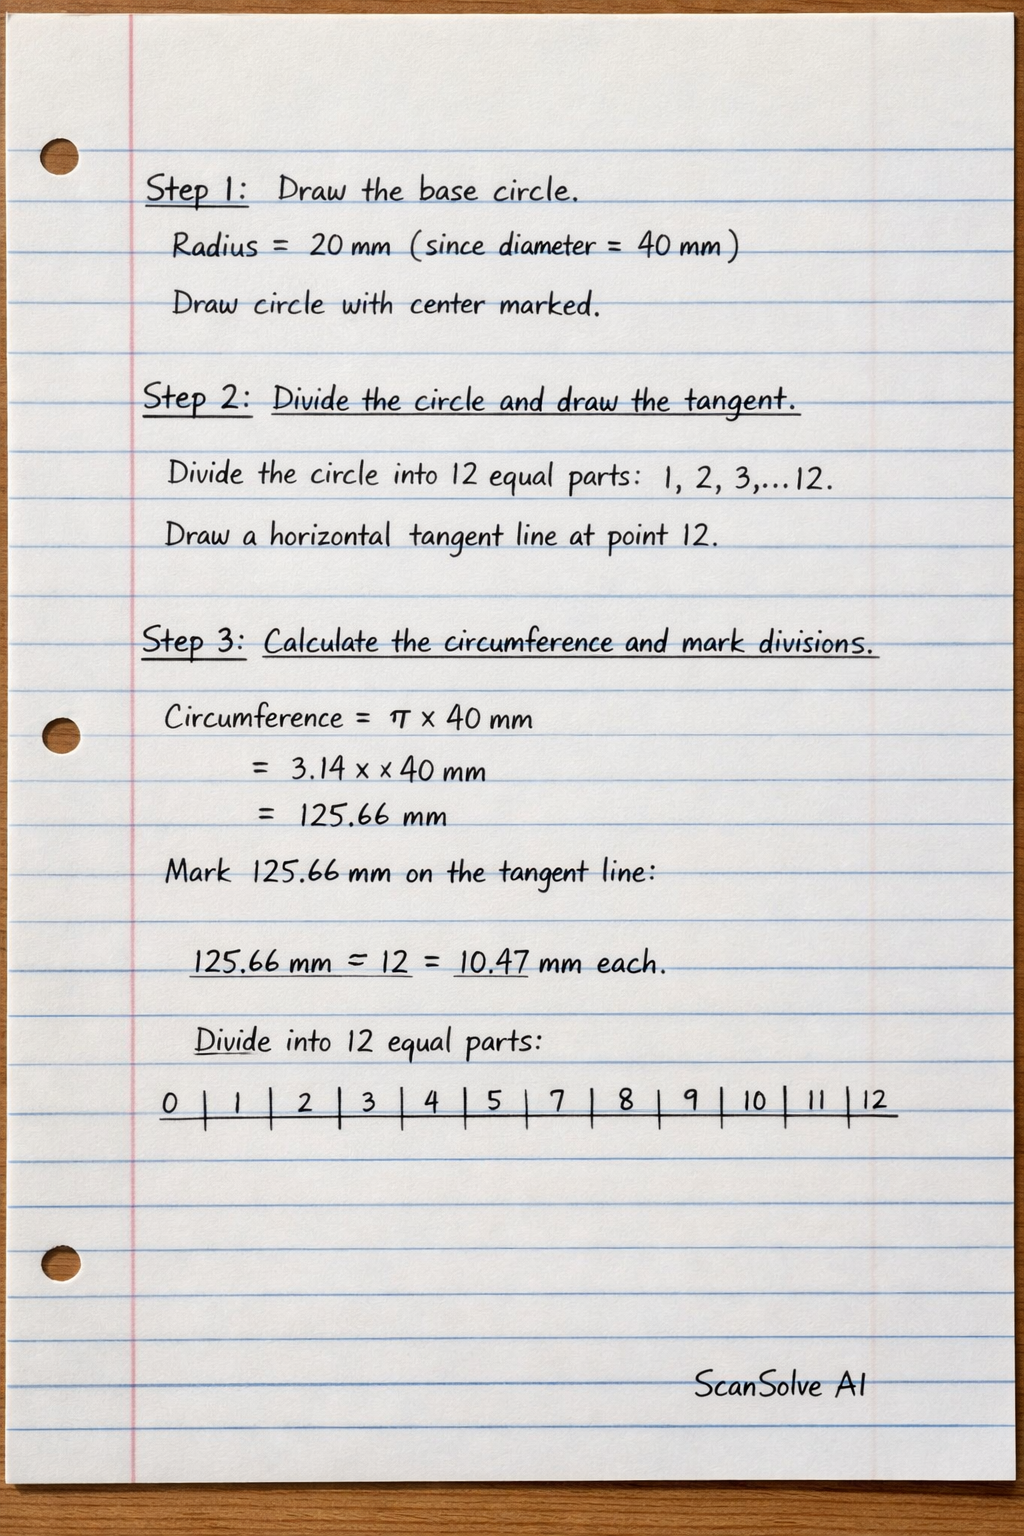
Here are the instructions for questions 23 and 24. As an AI, I cannot physically draw the objects, but I will provide detailed steps for their construction. 23. Draw an involute of a circle of diameter 40mm. Step 1: Draw the base circle. Draw a circle with a diameter of 40 mm, meaning a radius of 20 mm. Mark its center. Step 2: Divide the circle and draw the tangent. Divide the circle into 12 equal parts (or more for greater accuracy) and label them 1, 2, 3, ... 12. Draw a horizontal line tangent to the circle at the starting point (e.g., point 12 or 0 on the circumference). This tangent line represents the unwound string. Step 3: Calculate the circumference and mark divisions. Calculate the circumference of the circle: C = × diameter = × 40 mm ≈ 125.66 mm. Mark this length on the tangent line starting from the point of tangency. Divide this length into the same number of equal parts as the circle (e.g., 12 parts). Step 4: Draw tangents at each division point on the circle. From each division point on the circle (1, 2, 3, ...), draw a tangent line perpendicular to the radius at that point. Step 5: Transfer lengths to tangents. On the tangent drawn from point 1, measure and mark a distance equal to one division on the unwound string (e.g., C/12). On the tangent drawn from point 2, measure and mark a distance equal to two divisions (2 × C/12). Continue this process for all points: on the tangent from point 'n', mark a distance equal to 'n' divisions from the unwound string. Step 6: Draw the involute. Connect all the marked points with a smooth curve. This curve is the involute of the circle. 24. Construct an ellipse using the parallelogram method. Assuming the major axis is 60 mm and the minor axis is 30 mm (based on question 22). Step 1: Draw the axes and parallelogram. Draw the major axis AB = 60 mm and the minor axis CD = 30 mm, bisecting each other at right angles at the center O. Construct a rectangle (which will serve as the parallelogram) with sides parallel to the major and minor axes, passing through points A, B, C, and D. The dimensions of this rectangle will be 60 mm × 30 mm. Step 2: Divide the sides. Divide the semi-major axis OA into a number of equal parts (e.g., 4 parts) and label them 1, 2, 3. Divide the side of the parallelogram adjacent to OA (e.g., AE, where E is a corner of the parallelogram) into the same number of equal parts and label them 1', 2', 3'. Repeat this for all four quadrants of the parallelogram. Step 3: Draw construction lines. From point C (end of the minor axis), draw lines to points 1, 2, 3 on OA. From point D (other end of the minor axis), draw lines to points 1', 2', 3' on AE. Step 4: Mark intersection points. The intersection of the line from C to 1 and the line from D to 1' gives one point on the ellipse. The intersection of the line from C to 2 and the line from D to 2' gives another point. Continue this for all corresponding points. Step 5: Draw the ellipse. Connect all the marked intersection points with a smooth curve to form the ellipse. Repeat the process for all four quadrants of the parallelogram to complete the ellipse. 3 done, 2 left today. You're making progress.