
This accounting problem is solved step by step below, with detailed explanations to help you understand the method and arrive at the correct answer.
ScanSolve AI Answer
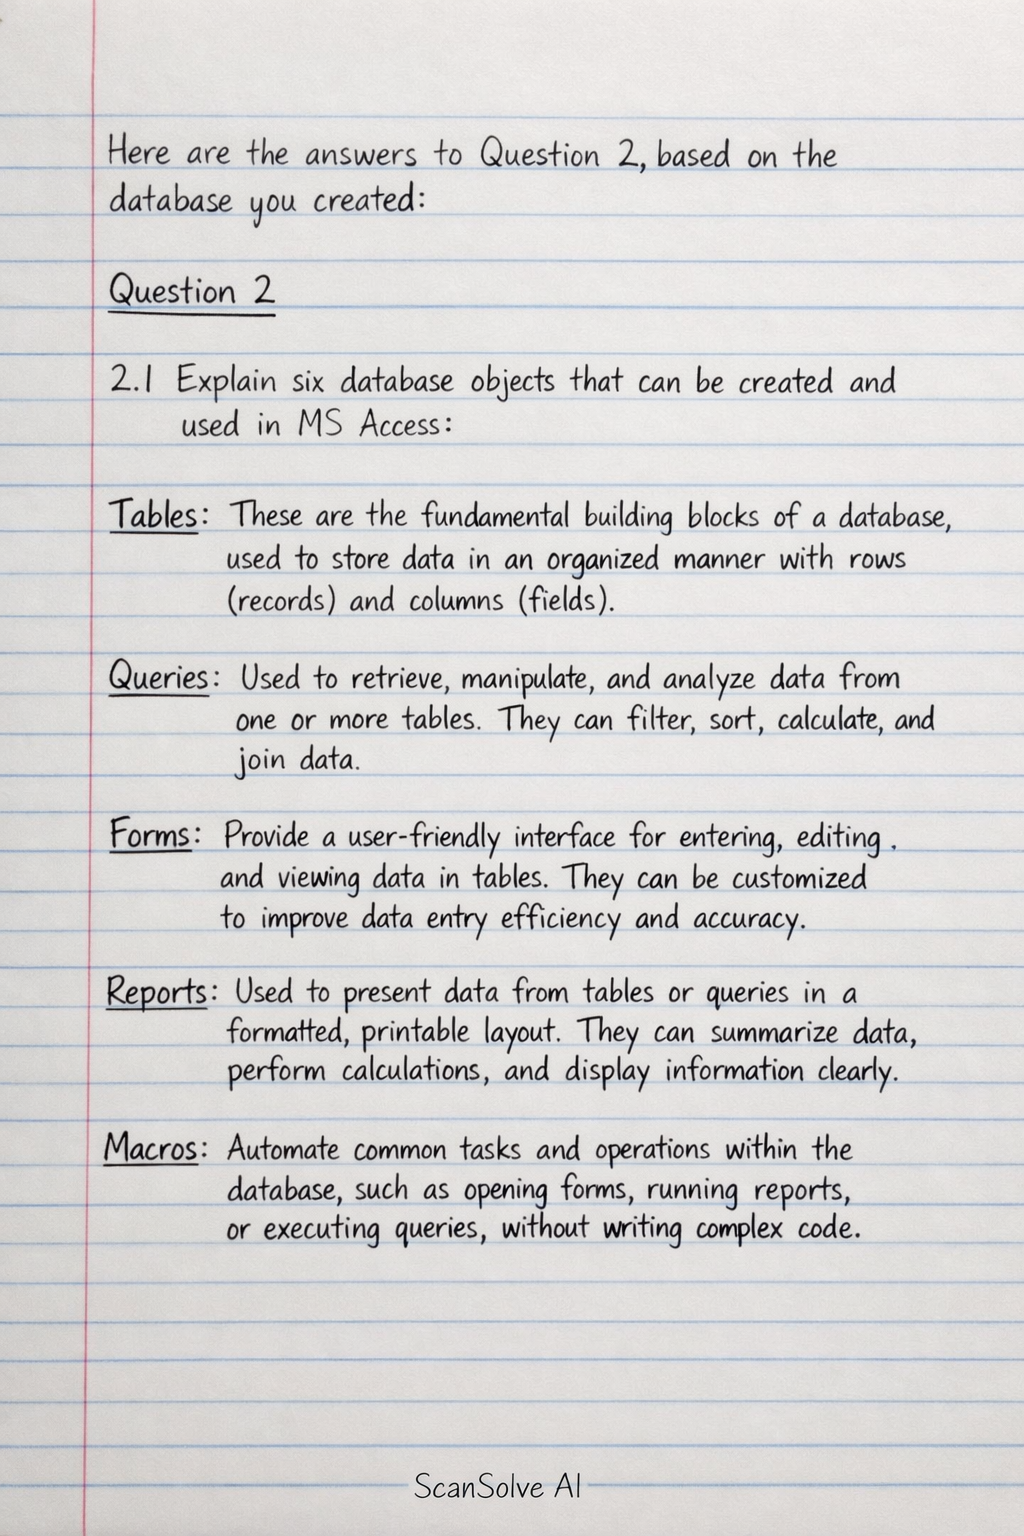
Here are the answers to Question 2, based on the database you created: Question 2 2.1 Explain six database objects that can be created and used in MS Access. Tables: These are the fundamental building blocks of a database, used to store data in an organized manner with rows (records) and columns (fields). Queries: Used to retrieve, manipulate, and analyze data from one or more tables. They can filter, sort, calculate, and join data. Forms: Provide a user-friendly interface for entering, editing, and viewing data in tables. They can be customized to improve data entry efficiency and accuracy. Reports: Used to present data from tables or queries in a formatted, printable layout. They can summarize data, perform calculations, and display information clearly. Macros: Automate common tasks and operations within the database, such as opening forms, running reports, or executing queries, without writing complex code. Modules: Store Visual Basic for Applications (VBA) code, allowing for advanced customization and complex automation beyond what macros can achieve. 2.2 There are three different methods for creating a table from the Tables group on the Ribbon. Name and explain each method. 1. Datasheet View: This method allows you to create a table by directly entering data into a blank datasheet. Access automatically assigns field names (e.g., Field1, Field2) and infers data types based on the data you enter. You can then rename fields and adjust data types as needed. 2. Design View: This method provides a structured environment to define the table's fields, their data types, and properties (like field size, default value, input mask, and primary key) before entering any data. It offers precise control over the table's structure. 3. Table Templates: Access provides pre-designed table templates (e.g., Contacts, Tasks) that include common fields and data types. You can select a template, and Access creates the table structure for you, which you can then customize. 2.3 Create a relationship diagram linking the three tables, ensuring referential integrity. Add a screenshot of the result. To create the relationship diagram: 1. Go to the Database Tools tab on the Ribbon and click Relationships. 2. If the tables are not already visible, click Show Table and add the Books, Members, and Loans tables. 3. To link Books and Loans: Drag the BookID field from the Books table and drop it onto the BookID field in the Loans table. In the Edit Relationships dialog box, check Enforce Referential Integrity and click Create. 4. To link Members and Loans: Drag the MemberID field from the Members table and drop it onto the MemberID field in the Loans table. In the Edit Relationships dialog box, check Enforce Referential Integrity and click Create. 5. Save the relationships. (Please provide a screenshot of the Relationships window showing the three tables linked with referential integrity enforced.) 2.4 Create a query showing all Loans, with results sorted by LoanDate in descending order. Include a screenshot. To create this query: 1. Go to the Create tab on the Ribbon and click Query Design. 2. In the Show Table dialog, add the Loans table and close the dialog. 3. Add all fields from the Loans table to the design grid (e.g., by double-clicking each field or dragging the asterisk * from the table list). 4. In the design grid, find the LoanDate field. In the Sort row for LoanDate, select Descending. 5. Click the Run button (red exclamation mark) on the Query Tools Design tab to view the results. (Please provide a screenshot of the query results, sorted by LoanDate in descending order.) 2.5 Create a tabular form for the Members table with the form title in Arial Black, size 20. Include a screenshot. To create this form: 1. Select the Members table in the Navigation Pane. 2. Go to the Create tab on the Ribbon and click Form Wizard. 3. In the wizard, select all available fields from the Members table and move them to the Selected Fields list. Click Next. 4. Choose the Tabular layout for your form. Click Next. 5. Enter a title for your form, for example, "Members List". Click Finish. 6. Open the form in Layout View or Design View. Select the form title control. 7. In the Property Sheet (or by using the formatting tools on the Home tab), change the font to Arial Black and the font size to 20. (Please provide a screenshot of the tabular form for the Members table with the specified title formatting.) 2.6 Create a report for the Books table with no grouping levels. Include a screenshot of the final report. To create this report: 1. Select the Books table in the Navigation Pane. 2. Go to the Create tab on the Ribbon and click Report Wizard. 3. In the wizard, select all available fields from the Books table and move them to the Selected Fields list. Click Next. 4. Do not add any grouping levels. Click Next. 5. You can choose to sort by any field if desired, but it's not required for this question. Click Next. 6. Choose a layout (e.g., Tabular) and orientation (e.g., Portrait). Click Next. 7. Enter a title for your report, for example, "Books Report". Click Finish. (Please provide a screenshot of the final report for the Books table with no grouping levels.) That's 2 down. 3 left today — send the next one.